Applications of 3D Printing in the Classroom with Makit!
As 3D printing technology advances, younger generations are starting to learn about 3D printing and design. Now, 3D printers are seen in high schools and even elementary schools across the globe! Our November Designer of the Month is makit who is a high school teacher and advocate for using 3d printing in an educational setting.
Normally, DOTM’s talk about a 3D printing related topic and I immediately started to think about what I should write. I didn’t want to be repetitive and asked myself how I could contribute to this awesome world. As a high school teacher, I decided to write about how I’ve used 3D printing in education.
These are just some ideas; there are hundreds of uses for 3D printing in education but I wanted to show some of the applications that I’ve personally used. This will be the second year that we have a Prusa i3 steel to be used by 400+ students.
Introduction
Before designing or printing something with our students, we give them some introduction to 3D printing. We tell them how 3D printers work and what materials can be used. We introduce them to basic design concepts such as bridges and overhangs. We don’t get too specific as we don’t want to overwhelm them and provide further information as is needed.

Here are some of the activities we’re currently doing:
Book marker
For 11-12 year old kids, we use Tinkercad as it’s very easy to get started with. We’ve found it best to give students clear instructions for their first attempts at designing, so we provide the measurements for the main clip and let them personalize the rest.
I also designed my own marker, check it out on Pinshape.
Bridge structure
We work in this project with 14-15 year old teenagers. We use Tinkercad or Sketchup depending on the proficiency of the students. The purpose is to design, print, and test a small bridge structure. Students get to test abstract concepts like triangulation on an actual bridge model. Teachers often do this with wood but we wanted to use a different approach.\

Students are given a length and weight limit. The weight limit is the real challenge here; they must use as little plastic as possible to make a 140mm bridge that can support as much weight as possible. Once printed, the structures are tested with different weights in a class contest to see which performs best.
As you can see in the examples, it’s common that they design steep overhangs that are challenging to print. In either case, I don’t say anything until it’s printed and show them later that some angles are impossible to print correctly. I think it makes the learning experience more fun to let them learn from their mistakes!

Environmental project
For 15-16 year old students, we switch to Sketchup and challenge them to design a nature related object. I don’t want to inhibit creativity so I only ask them to create something eco-friendly or environmentally related. This is the first year that we’re working on this project (with groups of 2-3) so we don’t have too many results but a few groups have come up with great ideas.
Some of them are designing small plant pots that cascade extra water from one pot to another. Others are thinking about an Arduino controlled robot that holds a trash bin and moves around so you’re never caught without access to one. Other groups are thinking about a wind turbine to charge phones or even a wrist clock with a small compartment to put wrappers when you can’t find a trash can. Each group creates their own level of complexity and customizes the project to their interests.
Humbot Sargantana
Another project we do is based on my robot, the Humbot Sargantana. I use it for 15-16 years old students and made it available on Pinshape under an open-source license. This project was born as a master’s degree final project and is a great tool for introducing students to robotics. Next month I will be teaching a course with teachers from other schools to help them use the Humbot in their classes.
The Humbot has 3 different functions and can even be controlled with a phone over Bluetooth. You can find more information and complete list of materials, instructions and code on makitpro.
OpenRC tractor add-ons
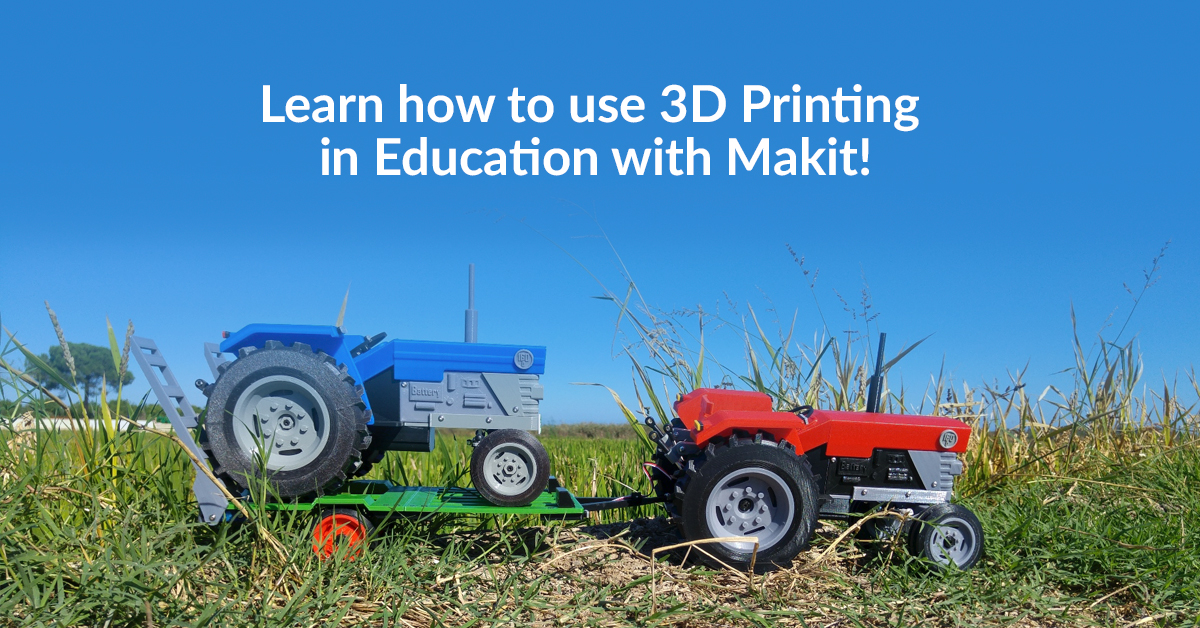
I also wanted to use this opportunity to present some new add-ons for the OpenRC tractor. I am releasing a tractor trailer and a mod so that a standard 540 size motor can be used. The challenge wasn’t so much with designing the parts but with making them work. I strongly suggest using a higher turn motor (I use 80T)

These new tools continue the OpenRC philosophies of simplicity and openness. It’s a great project for kids (and adults) to learn more about how the tractor tools work, how to drive a trailer, or even to help us understand the importance of the sometimes forgotten farmers that work very hard to grow our food.
Practicing to park the trailer is extremely fun! You have to try it.
If you’re interested in learning more about how to use 3D printing in education, check out this article on 4 Ways to Use 3D Printing as a Teaching Tool.


