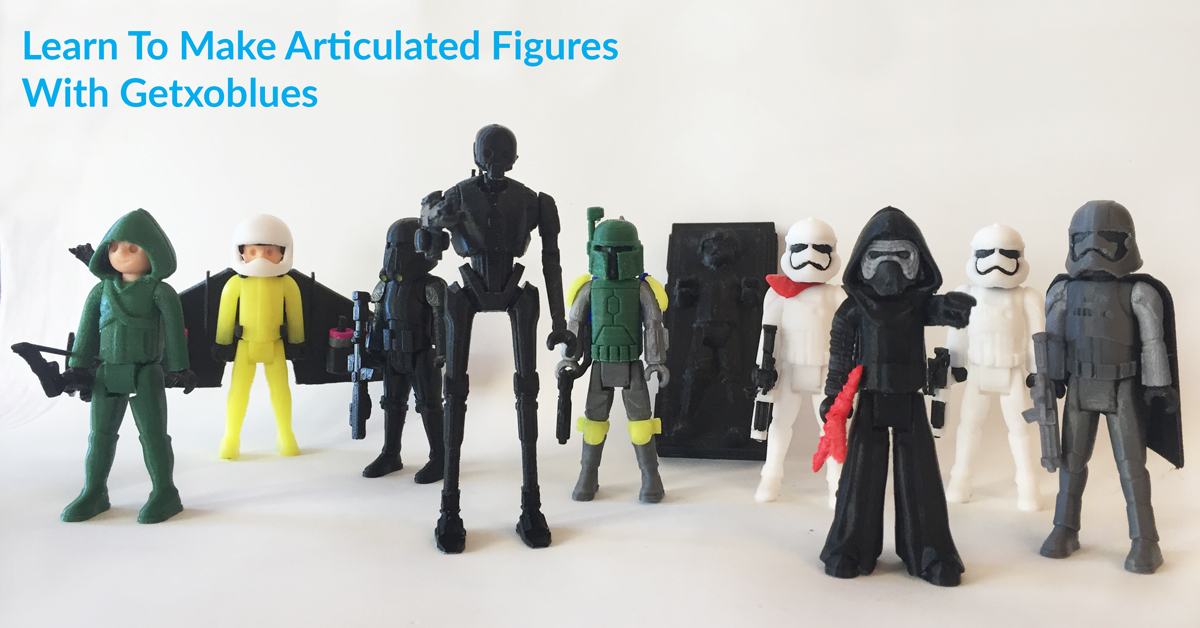
Design Your Own 3D Printable Articulated Characters
Aitor Baltziskueta is from Getxo, Spain and spent 25 years working as a graphic designer. In 2014, he started designing for 3D printing and specializes in creating both articulated figures and vehicles. He sketches out his ideas on an iPad using apps like Procreate and models them in 3D using Cinema4D.
Since I was a kid, I’ve been fascinated by these little figures that you can hide in your hand. I love the simplicity of models from the likes of Lego or Playmobil. They are small and articulated and I tried to create my own using whatever I could find, from foam to composites… When home-based 3D Printing came along, everything changed.
I try to design my figures to have a high level of mobility much like those from Lego or Playmobil. To achieve this, I create joints in the head, arms, hands and legs.

Trying to get parts to fit together smoothly and articulate has been a challenge and I’ve tried more methods than I care to mention. I’ve found that the simplest way to do it is to divide the figure’s torso into two sides (front and back) with cavities that the moving parts (arms, legs, head) fit into. To combine the two halves, I use a small 3D printed screw.
My Main Design Tools: Symmetry, Nurbs, Bevels, and Booleans.
I know many prefer parametric software when designing in 3D, but I’m more confident working with meshes. Mesh modelling makes creating organic forms like faces much easier than parametric software. There are sculpting tools like Zbrush and others that can be used in addition to mesh modelling to provide an even greater level of detail.
I use Cinema 4D for 3D design, which is perhaps not the best solution, but it’s what I used as a graphic designer. I have a minimalist approach when I design my minifigs which Cinema4D is well suited for.
I always try to keep my meshes low-poly. This is made possible by using symmetry and nurbs. Symmetry allows me to only worry about half of the model as the other half is mirrored. Many of the minifigs are entirely symmetrical which makes editing the models quick and easy. Nurbs takes hard edges from low-poly modelling and turns them into smooth curves.

Nurbs tends to soften and smooth the edges in your model which can be an issue if you need a few hard edges. One way to create a hard edge is to create 3 lines in your model very close to one another. A more efficient solution is to use a bevel.

A bevel creates a hard transition between polygons so you don’t need to create new “cuts” in your model to make hard edges. You can modify the roundness or smoothness of your bevel using parametric values (0.2mm in the above example). This is very useful for easily creating hard edges when you’ve a tool like nurbs applied to your model.
One of the most important tools I use is called the boolean. For our purposes, a boolean ‘subtracts’ one model from another. To create the cavities, I expand my joints by 0.2mm (to give the print a bit of space to move) and subtract the joint from the rest of the model. That’s all there is to it and this is how I create the cavities for the arms and legs with smooth articulation.

Why I use Hexagons
As shown in the image above, I use hexagons for creating cavities. The joints themselves are cylinders but when I tried to make the cavities cylinders, they didn’t print as well due to steep overhangs. I discovered that the hexagon was a good shape for internal cavities and the slight overhang can easily be bridged or supported.
I always design parts to print flat and with minimal supports. This is another advantage of using hexagons for the cavities and printing the torso in two halves.
How the Screw is Made
A small screw is used to attach the two halves of the torso together. After a few iterations, I found that the screw needed to have a minimum diameter of 4mm to keep it from breaking when the figure was assembled.
The screw is designed by creating a hexagon and then applying nurbs. This creates a smooth thread that can be printed vertically with minimal to no supports.

I hope these tips help you to create your own models! If you have any questions, feel free to contact me through my Pinshape page!
![]()
Thanks so much to Aitor for writing this guest blog. If you also love working with mesh modeling tools, Pinshape has a Character Design Contest with the Form 2 as the top prize.!


