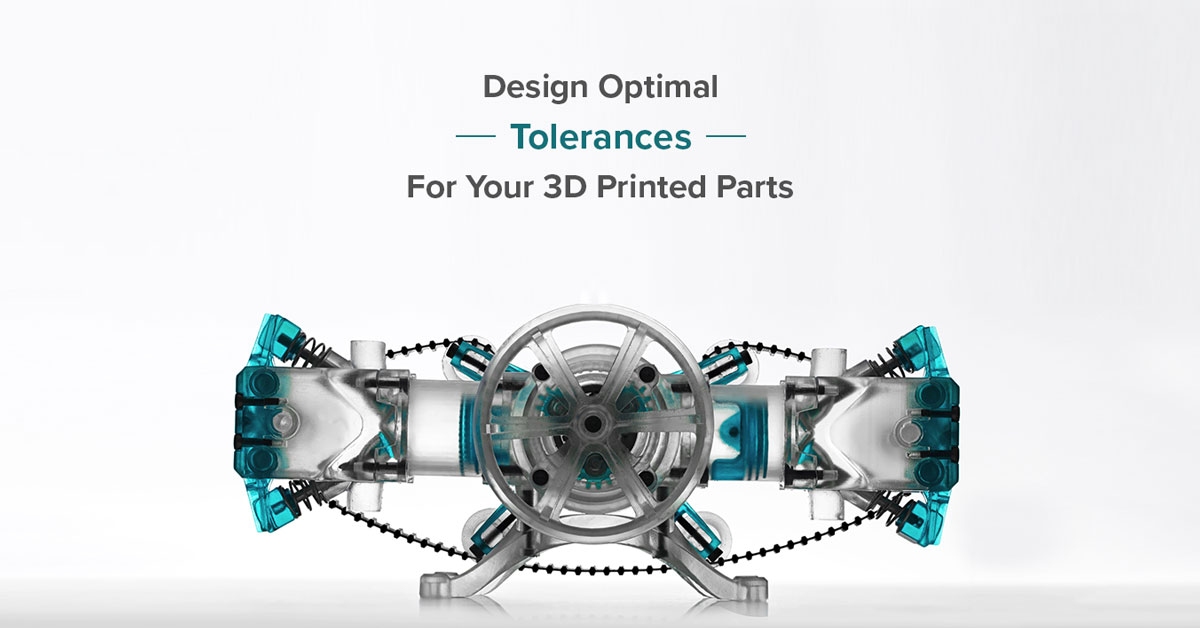
How To Design Tolerances for Engineering Fit
Daniel O’Connel (O3D) is a maker from Philadelphia who believes that all designs should be as functional as they are beautiful. He’s a prominent figure in the community with popular designs such as the ‘HIVE Stackable Hex Drawers’, and he’s especially experienced at creating designs with precise tolerances. Join him as he teaches you how to implement optimal tolerances into your designs!
Many novices enter the community thinking that 3D printers are magical and can print anything without much trouble, and I thought this way as well when I began my 3D printing journey in December of 2015. I started out by making models in my free time and uploading them to thingiverse without taking any parameters like tolerances into consideration.
I hadn’t heard about tolerances until I uploaded my 52nd design, the HIVE -Stackable Hex Drawers. It took 52 designs before people told me that I needed to take tolerances into consideration for 3D prints. After discovering this, I spent a great deal of time learning best practices for tolerances in 3D printing.

While 3D printers are accurate, they’re imperfect and some leeway must be given for models to fit together smoothly. Most materials also expand and contract through the printing process, and each of these factors should be taken into considering when creating your design.
Fortunately, most of what you need to know about tolerances in 3D printing can be simplified as one golden rule. The golden rule, at least for FDM printing, is to have a 200-micron gap between nesting prints.
This is far from perfect but it is applicable to a wide number of different projects and designs. As an example, the drawers that go into my HIVE modules have a 200-micron gap. That said, when I tried to fit a drawer into a module I wasn’t able to.

There are two reasons for this that highlight some of the other considerations you should make when creating nested designs. The first reason was that the 200-micron tolerance wasn’t quite enough. The drawers needed more of a gap to fit smoothly and there’s no substitute for iterating on your designs to find the best tolerances. Oftentimes, starting with a very large gap between parts (upwards of 1mm) and continuously reducing it until you find the optimal tolerances is best practice.
The second reason was that I didn’t chamfer the bottom of the drawer which resulted in squared and slightly expanded edges. Think of a chamfer as a diagonal cut at the edge of an object. I fixed this by adding a 200-micron chamfer to the bottom of the drawer. A 200 micron chamfer at the bottom of a nested part is a good practice to ensure that the edges don’t flare out and collide with other parts of the design.

Interlocking parts tend to be my specialty. The HIVE drawers for example, make use of hexagonal rails and slots. Getting them to print correctly was a challenge but gave me a great deal of insight as to how tolerances work in 3D printing. Iteration really is critical here and to prototype as quickly as possible, I printed out only small sections of the rail and slot so that I could focus on those without re-printing the entire design. I modified the gap between components by as little and 50 microns at a time and eventually settled on a 0.8mm gap.

It’s important to keep in mind that different types of components will require different tolerances. You’ll notice that the ‘golden rule’ for nested components was a 200 micron gap whereas sliding and interlocking components required gaps upwards of 800 microns. There really is no substitute for printing and improving on your personal design.
Here’s a cheat sheet for some of the main considerations you should keep in mind when creating nested or interlocking parts
- 200-micron chamfer on any edge touching the build plate
- All angles should be between 45-60 degrees
- Fillet sharp edges of anything that interlocks or stacks
- Walls should be 2mm minimum thickness. Walls are normally 2.4mm thick
- Keep the material in mind (ABS tends to shrink and PLA often expands)
I hope this article has been helpful, and I’ll end by reinforcing the most important factor when designing nested and interlocking components. Test, test, and test again. No two models are the same, no two 3d printers are the same, and tolerances are something that need to be tested and improved upon to perfect.
Depending on your design, it often makes sense to isolate a component and just test that piece. Fortunately, 3D printers are becoming increasingly able to rapidly and cost-effectively create your designs which allows you to iterate quickly! For those looking to advance their ability to design effective tolerances, check out Formlabs’ White Paper on Engineering Fit.
![]()


