How One Designer Created This Detailed Batman Prop
Halloween is not far off and in the spirit of using 3D printing to create your own intricate props, we brought in 3D maker and designer Michael Miller to talk about how he created the fine details in his Batman grenade launcher replica.
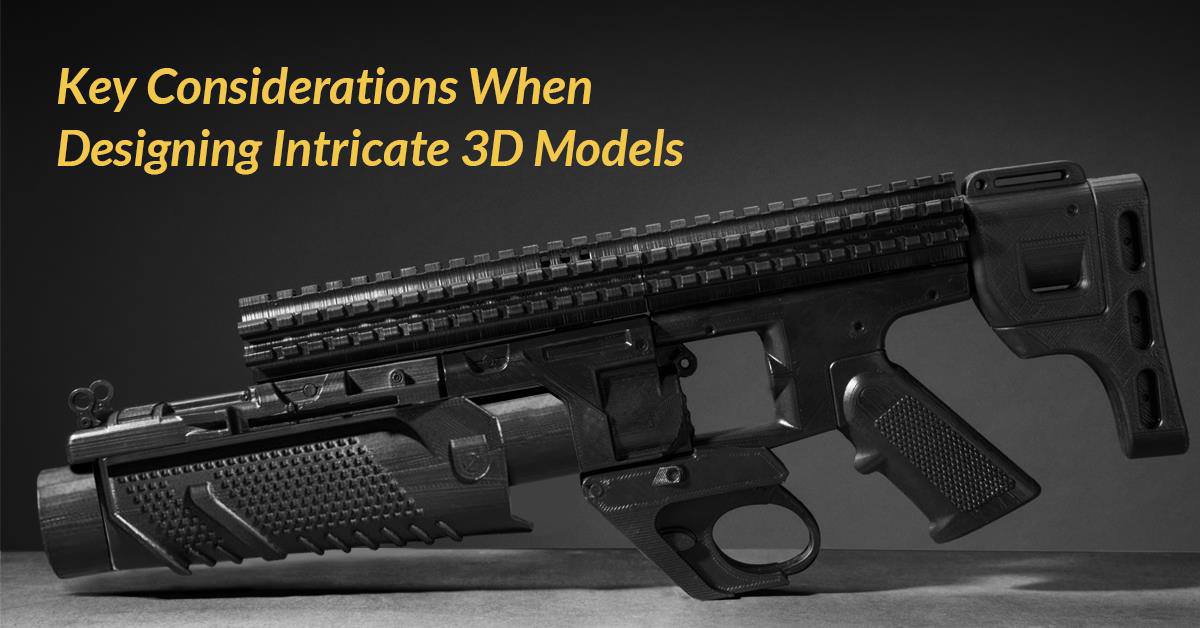
Pinshape hosted a Batman vs. Superman contest in April and I was very excited to enter. I decided to make the grenade launcher that Batman uses in the new movie because of its size, complexity, detail, and opportunity for moving parts. Here I’ll go through my design process and talk about some of the challenges I ran into and how I overcame it. Now, let’s get into it!

Preparing to Design my Model
Why I Chose To Do Batman’s Grenade Launcher
When deciding on what to design for the contest, I wanted to make something that was big with lots of fine detail and could also move in some way. Before this, I had recently created a 4 ft long Vex Mythoclast gun from Destiny, so I was kind of in the mood to make another weapon prop and chose the grenade launcher that Batman uses in the movie. By looking at the pictures, I could tell that it possessed all the qualities I was looking for, and I knew it would definitely take a long time to do, so I went for it.
Top Challenges to Overcome
The first big challenge I faced was that I didn’t have a solid side picture to reference from. Generally, I start with a side view picture and work from there, and since I didn’t have one, I went through the painstaking process of drawing it. It wasn’t until I was about 80% done that I found out that the gun I was modeling actually existed in real life and that there were plenty of side views all over the internet. Had I found this out earlier, it would have saved a lot of time, but that was a lesson well learned for next time.
 *my drawing above*
The real challenge for me was matching all the tiny little details as closely as possible to the original gun. This actually took the longest time to do because many of the details were hidden or hard to see in the reference pictures. To get the details right, I spent a lot of time scrolling through those images to find the right angles to model from.


In addition to getting the external details correct, I ran into a few modeling difficulties. Things like the handle grip and the barrel grip were a lot harder to design than I thought and gave me plenty of trouble. With every project comes an array of challenges, but so far, I’ve been able to resolve just about all the problems that have come my way. No project is ever 100% smooth sailing, but that’s just all part of the fun. The thing you have to remember is to never give up, learn from your mistakes, seek help when lost and most importantly, have fun at what you do. That will take you a long way.
Key Considerations when 3D Designing
Designing with 3D Printing In Mind
Anyone who has ever printed a complex model with lots of overhangs knows the pains of using support material. For my models, I try to make them as support-free as possible, so I had many of the pieces split in half. I also added diamond shaped “keys” to help align parts up with each other, and by making them diamond shaped, it allows for better printing and fitting. Without the keys, aligning the pieces would be more difficult.

Generally speaking, splitting your model in half will eliminate many of the overhangs from a model which is why I split the barrel piece in half. You could try to print the barrel as one piece, but it will make it more complicated to print because of overhang issues. All the little square details sticking out will more than likely give you problems.
I Gave It Moving Parts
This was actually a decision I managed to pull off at the very end, and the reason I did it is simply because moving objects are always more interesting than non-moving objects. I wanted to do everything I possibly could to make this thing awesome, so I went all in and gave it a moving barrel.

So the way this thing works is very similar to that of the real thing. Basically, it uses a track system, to which the barrel slides along exposing the inside where you can insert a fake grenade round.


Attention To Detail
With all my models, I try to make them as detailed as humanly possible, and boy, was this gun detailed. So much of my time was dedicated to making all those little details and making sure that they were as close to the real thing as possible. Some people sometimes skip over this area, but I think it is one of the most important features of a design. For example, here is an image of my Queenbreaker’s Bow I made recently without detail:

And here it is with the detail:

As you can see, the second image looks so much more impressive.
Why I Left Out Certain Details
3D printing is pretty amazing, but it does have its limitations. Unlike manufacturing, 3D printing is only one process, whereas manufacturing can have hundreds or even thousands of processes. The gun I was modeling from clearly had parts that were manufactured with very specific processes and materials that you can’t really get with 3D printing, so some areas I decided to leave out. For example, in this picture below, you can see that I left out an area that was clearly there for mechanical and functional purposes:

As you can see, on my version, that area is flat without any detail or gaps.
Detail is important, but when making models for 3D printing, sometimes it’s best to leave certain ones out, just as long as it doesn’t take away from the design.
Concluding Thoughts
I just want to thank Pinshape again for allowing me to write this blog and I hope you readers have enjoyed reading it as much as I did making it. If you would like to check out some of my other works, just drop by my website here: http://www.millersmaddesigns.com/.


