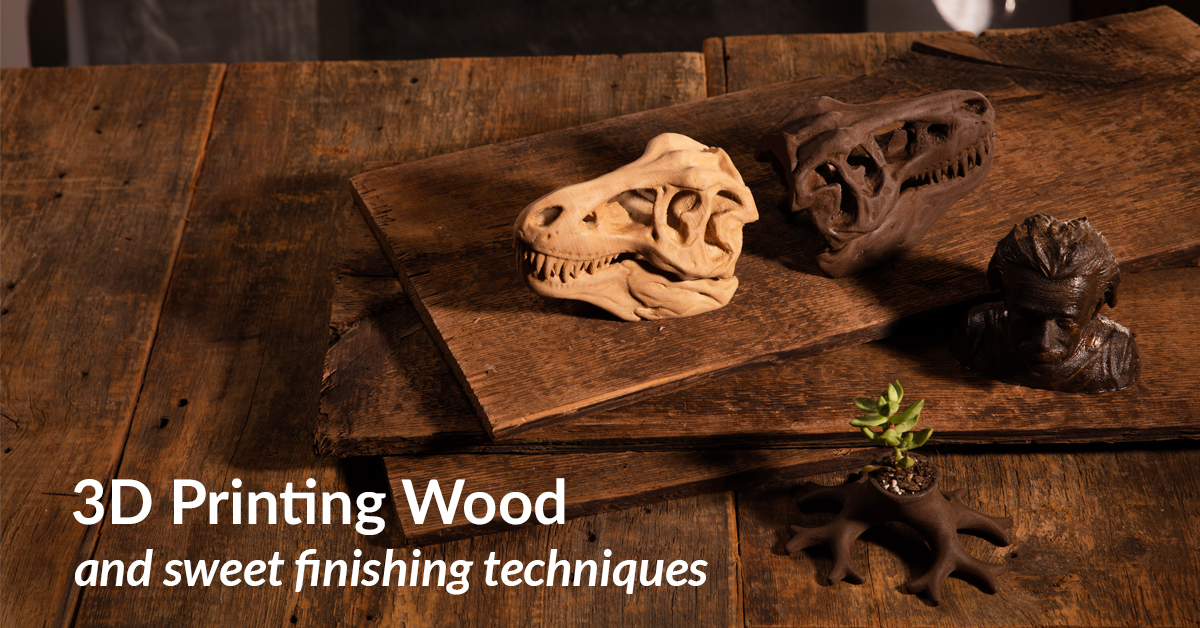
3D Printing Wood – Try These Sweet Finishing Techniques!
Ever tried 3D printing wood?
Let’s venture into finishing options for one of the more exciting 3D printing filaments – wood filled, which have a few different variants. Many of the wood filaments use PLA mixed with around 40% wood powder. Others use special foams and colorants which mimic the finish of real wood without containing any actual wood powder. The advantage of the legitimate wood powders is that they smell wonderful during and after printing and can be used with a number of different finishing techniques. The foams and mimics tend to be easier to print but you miss out on the smells and many of the post-processing abilities.
Formutura was kind enough to send us some of their Coconut and Pine filled filaments to play with and suffice to say, there’s none left. These do contain actual wood powder and I spent a good amount of time walking around with prints and insisting that people smell them (the pine has a nice syrupy scent to it).
 Model: The T-Rex Skull
After experimenting with some different techniques to post process the wood filaments, here’s what I came up with:
Make it Burn
Wood seems to have a propensity to burning and wood filaments are no exception. One of the easiest techniques to create unique and organic looking effects is to burn the filament. Most wood filaments will list what might seem like absurd temperature ranges usually between 200 and 260C and this is for good reason. By increasing the temperature, you can change the color of the extruded material.
We use Simplify3D and experimented with alternating the extrusion temperature every 20 or so layers. Deviations of 20 degrees will produce subtle variations in color and altering things by 40 degrees will create more profound effects. Even using the darker coconut filament, you can see variations in the colour which creates a striping effect. This is great for emulating realistic wood grain in your models.
 Model: Binary Roots
Sand It
Sanding common filaments like PLA and PETG is classified as cruel and unusual punishment in some jurisdictions. Although the wood filled filaments do typically use PLA as a base, they tend to take much more nicely to sanding. It’s a middle-ground between the rigor of sanding normal PLA and the ease of sanding wood.
The wood filaments can be a bit trickier to print and more prone to stringing so we started off a bit aggressively with an x-acto knife to correct for any big errors. From there, we used coarse, 50 grit sandpaper to start off and moved our way up to the more gentle 400 grits. The result is a very smooth and soft surface finish that is very similar to newly sanded wood.
 Model: The T-Rex Skull
Stain it all
Some of the more lightly colored standard filaments like PLA will see mild discoloration from floor stain, but for the most part it won’t be absorbed. Wood filament on the other hand will readily absorb stain (as did the carpet after spilling a nearly full container). We used an Einstein bust as a test piece because it has a number of contours that we wanted to highlight.
We used standard floor stain and the procedure for staining your prints is pretty straightforward:
- Sand your part a bit to clean up rough edges and expose more wood powder
- Dab a cloth of sorts into stain and wipe it on to your part (a little goes a long way)
- Use a clean cloth to wipe off excess stain and highlight certain areas
After staining Einstein, we coated him in a clear epoxy called XTC-3D to give him a bit of a gloss and further highlight some of the contours.
 Model: Einstein Bust
These are some of our favorite finishing techniques for wood filaments but we’re excited to see what you’ve come up with. I suspect some of these techniques might help make for great entries into our new Proto-Pasta Print Contest.
Find More Models on Pinshape!


