Learn to Create Lifelike Characters in ZBrush with Milos Tutus
Milos Tutus is a digital sculptor who graduated from the Faculty of Applied Arts in Belgrade. After completing his undergraduate studies, Milos began devoting all of his artistic and creative potential to digital art and design.
As a digital artist, my main tool is Zbrush with a Wacom Cintiq tablet. When I discovered these tools five years ago, they transformed my entire creative process and the workflow became second nature.
For each of my projects, I take several different factors into account. This including creativity, visual analysis, aesthetic, concept, and technical perfection. My specialties are in 3D modeling and texturing, character design, product design, illustration, 3D printing, technical visualization, and animation. I’ve worked in many different industries from game and product design, to augmented and virtual reality, to public art and medical fields.
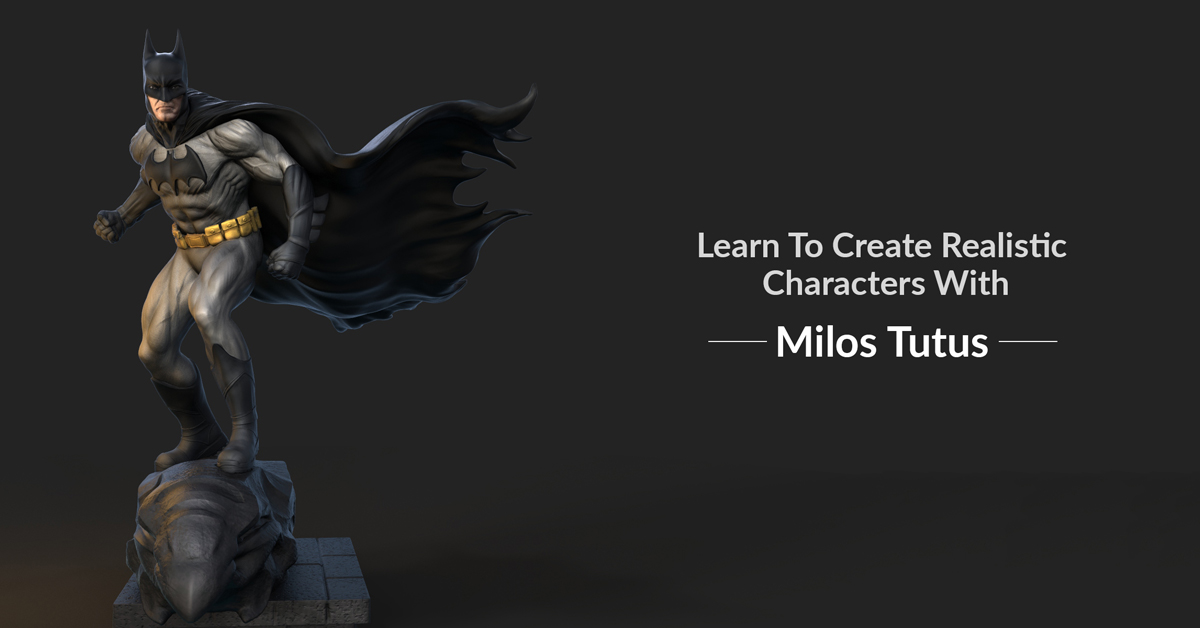
In my spare time, I like to design figures for 3D printing and especially enjoy re-creating superheroes. For this blog post, I’ll be going through the workflow I used to create a batman figure from one of my favorite comic books artists, Jim Lee, with a bit of my own personal touch.
Gather image references
The first step before even starting the modeling process it to gather as many reference images as possible. The internet doesn’t have to be your only source for references – I’ll often use images from books and movies or actual props from museums and nature.

After collecting my references together, I’ll spend several hours looking them over. For character sculpts, I’ll work to immerse myself into their world oftentimes acting out roles to better understand the character’s energy and personality.
Establish Design Proportions
I start the design by blocking out the basic shape and establishing the correct relationships and proportions between different parts of the model. Creating the right proportions from the start is crucial as this will be the base that we add detail to later. Poor proportions from the start will make the final model look awkward and weak. I oftentimes use work from renaissance sculptors as inspiration and references for the proportions of my sculpts.

After I’ve created the base of my model, I send it to keyshot to get a better sense for the proportions. Keyshot simulates what the model will look like through a camera lens and allows you to modify things like the angle of light to see how everything flows.
The base sculpt does not need to look quite like the final character but should serve to establish the pose and general shape of the model. If you’re interested in the specific Zbrush tools I use to get to this stage, they include ‘Zspheres, Dynamesh, Zremesher’ and as far as brushes go I use ‘Move Topology, Smooth, and Standard’.
Add Details
It’s in the secondary shapes like expression and musculature that the likeness of the character is established. My main focus is to make the character appear lifelike whether it be fictional or not. The expression and face need to be able to make a connection with the viewer. This ability is gained overtime and requires a great deal of practice and anatomical knowledge. Understanding the physiology of bones and muscles in the body is important to accurately emulate features.

To add the finishing touches to the structure or my model I create multiple Zbrush layers. I make a small change on a layer and then compare it to my original model to see if the change improves the liveliness or feel of the character. Being objective and willing to omit new features is important for progressing your design. Getting the opinion of a third party is helpful here.
Add Tertiary Forms and Color
After all the detail for your model has been added, it’s time to add tertiary forms and color. For characters that will be 3D printed, I don’t go as into depth with coloring as I might for something that’s going to be used in a game or animation. Instead, I try to emulate the look of the final 3D printed character as best I can. I’ve gathered a custom set of textures and the Zbrush Download Center is a great resource for finding new and interesting textures. Even using things from nature can help to inspire new textures for your designs.

Split Your Model into Parts for 3D Printing
When I’m satisfied with the full sculpt, I begin splitting it into parts so that each can be printed separately. I add keys onto each of the separate pieces so that they can be attached together after printing. For coloring the printed models, I use a mix of airbrushing and hand painting.

Each part of this process is important for creating a lively character. It’s important to enjoy the process and many people choose to start with the base sculpt and challenge themselves to learn new skills like texturing and keying along the way. I hope that you’ve enjoyed this and will have the chance to bring some of my creations to life through your 3D printers.


